How To Bond Concrete: A Step-by-step Guide
Why do some concrete repairs or additions fail to stick properly? Whether you’re patching a driveway, extending a patio or working on a larger project, understanding how to bond concrete is crucial for a long-lasting, seamless finish. Concrete bonding isn’t just about applying new concrete over old—it requires a precise method. Here’s what you need to know about bonding old concrete to new.
Understand What Concrete Bonding Is
Before diving into the process, it’s essential to grasp what concrete bonding is. In simple terms, concrete bonding involves adhering new concrete to an existing surface. This can be tricky since
concrete
naturally shrinks as it dries, which can lead to cracks and separation if not done correctly. The key is to create a strong, lasting connection that allows the new concrete to blend seamlessly with the old.
Prepare The Surface
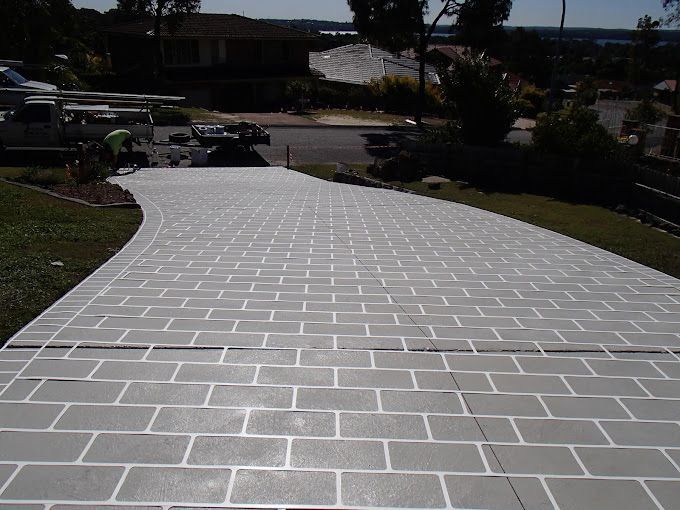
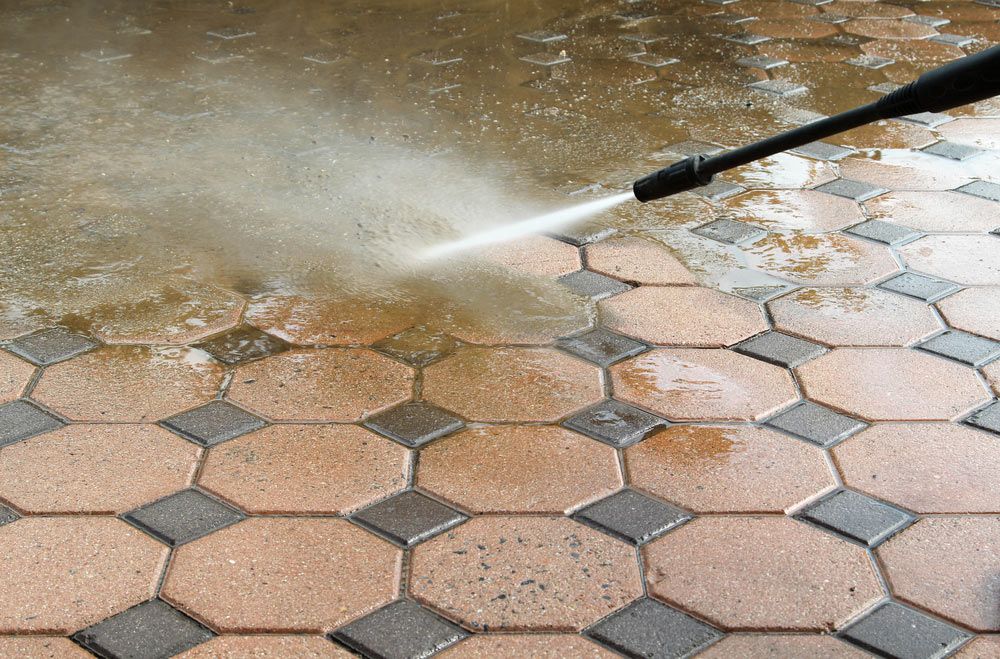
The first and most critical step in bonding concrete is preparing the existing surface. Begin by thoroughly cleaning the old concrete. Remove all dirt, debris and any loose or flaking material. For stubborn grime or oily patches, use a concrete cleaner or a pressure washer. A clean surface ensures that the bonding agent or new concrete can adhere properly.
After cleaning, roughen up the surface using a wire brush, grinder or chisel. This step is crucial as it creates a textured surface for the bonding agent and new concrete to grip onto. A smooth surface might seem ideal, but it doesn’t provide the necessary friction for a strong bond.
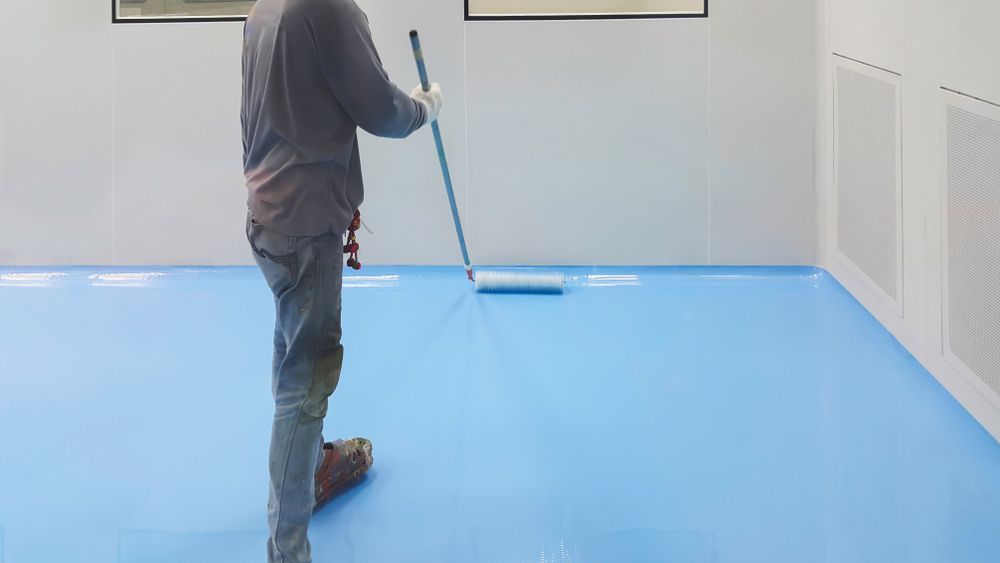
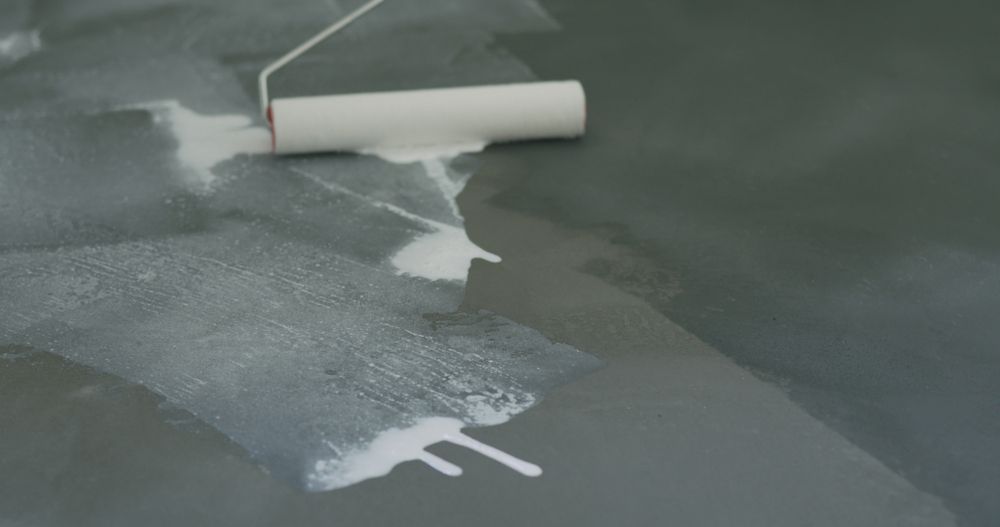
Apply A Bonding Agent
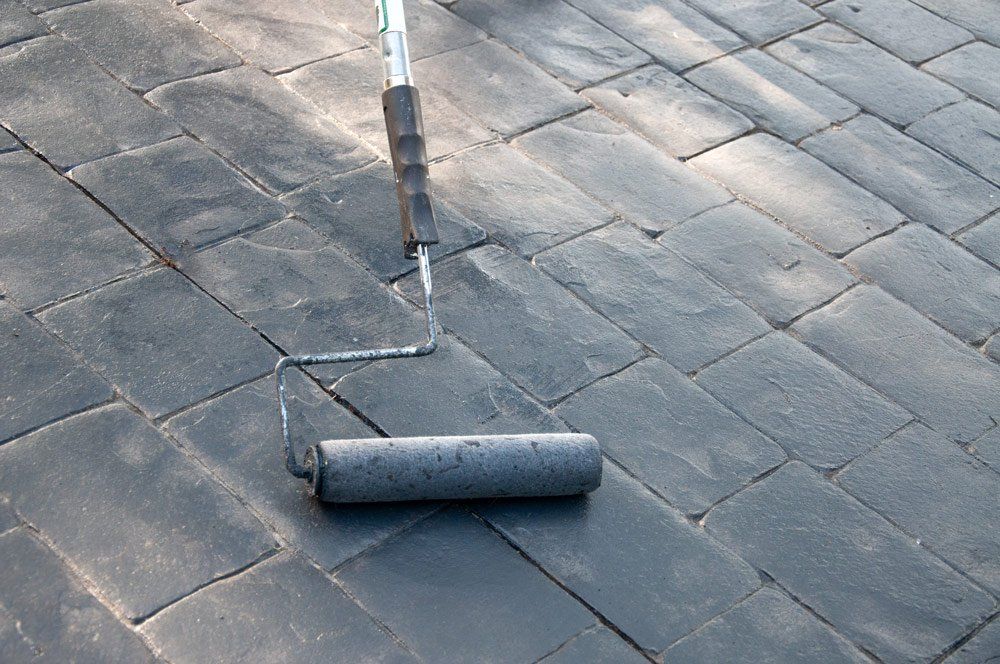
Applying a bonding agent is an essential step that cannot be skipped. This substance acts as a bridge between the old and new concrete, improving the adhesion and overall strength of the bond. There are different types of bonding agents available, but the most common are latex-based or epoxy-based.
Simply apply the bonding agent to the prepared surface with a brush or roller, making sure to cover all areas where the new concrete will be placed. Follow the manufacturer’s instructions regarding drying times—some agents require the new concrete to be applied while still tacky, while others need to dry completely.
Mix & Pour The New Concrete
Once the bonding agent is applied, it’s time to mix and pour your new concrete. It’s crucial to follow the correct mixing ratios for the type of concrete you’re using. Too much water can weaken the mix, leading to cracks and a poor bond.
After mixing, pour the new concrete onto the prepared surface. Make sure to work quickly yet carefully, ensuring the new mix is well-distributed and fills gaps or crevices. Use a trowel to smooth the surface and remove any air bubbles that could compromise the bond.
Cure The Concrete Properly
Curing is a vital step in the bonding process that is often overlooked. Proper curing ensures the new concrete gains strength and adheres to the old surface effectively. To cure, cover the freshly poured concrete with plastic sheeting or a damp cloth, keeping it moist for at least seven days. This helps prevent premature drying and shrinkage, which can cause cracks or separation from the old concrete.
Inspect & Maintain the Bond
After curing, it’s essential to inspect the bond to ensure everything has been set correctly. Look for any signs of cracking, separation or weak spots. Addressing these issues early can prevent more significant problems down the line. Regular maintenance, such as
sealing the concrete and repairing minor cracks, will prolong the life of your bonded surface.
Ensure A Perfect Bond Today—Contact Us for Expert Concrete Solutions
At
Concrete Colour Solutions, we offer a range of professional concrete bonding products and expert services tailored to your specific needs. Whether you’re looking to repair, resurface or extend your concrete surfaces, our high-quality solutions ensure a seamless and durable finish.
Contact us today to learn more.